10 x 10 Accordion Card
(same as the 8x8 accordion card with larger finished results)
All of the papers and punches used in this project are from my company
Creative Memories
I am an Independent Advisor for Creative Memories
Click this link to visit my website to purchase paper and products:

The is a view of a completed card, closed. It has not been decorated yet.
You can use a ribbon or a strip of card stock (as shown above)
as the closure for the card. Because of it's size, and all the folds,
the card will want to "spring" open for a little while. SO... to keep
it neatly closed, you must add some sort of reinforcement.
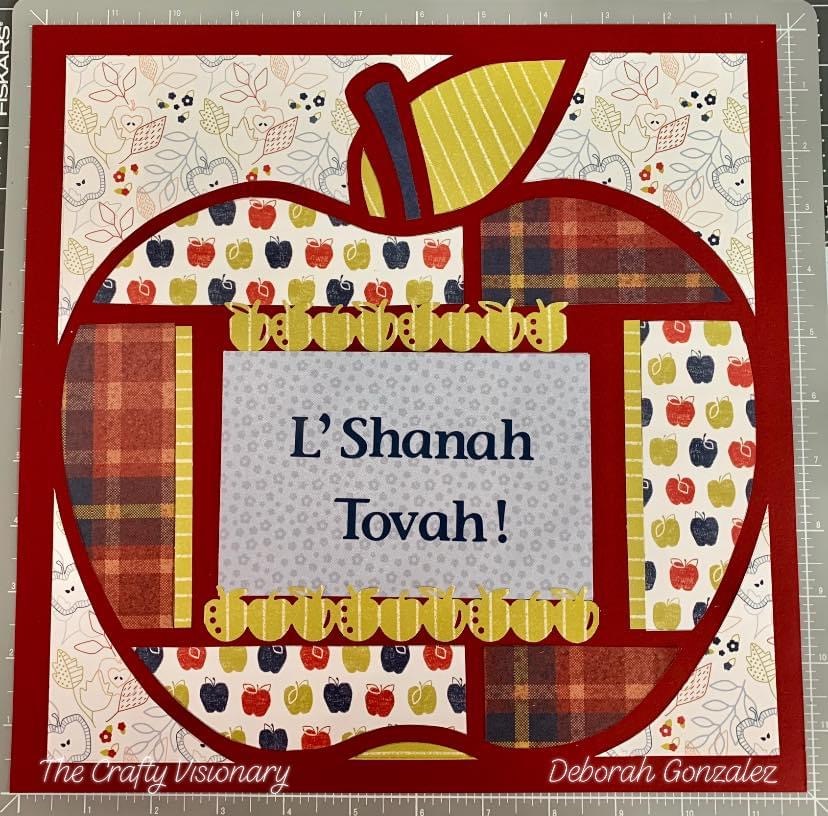
This is a finished card, open, decorated. All three sections attached.
The center, small strips, are bands to hold money.
This is a finished card, demonstrating the process of closing.
These are the pieces of paper needed to create this accordion card.
This is also a great craft to use scrap paper
you may have remaining from previous projects.
There are 3 pieces of card stock (all the same color or various colors)
There is decorative papers used to decorate the finished card.
How much you decorate is up to you. Finish the folding process of the card
(basically, you will "teach" your card how to close)
...once it is all pieced together, you can begin decorating.
This is my 12x12 pieces of card stock which I will cut into
10x10 squares. You can make any size card as long as your
3 base pieces are cut in egual sizes - SQUARE.

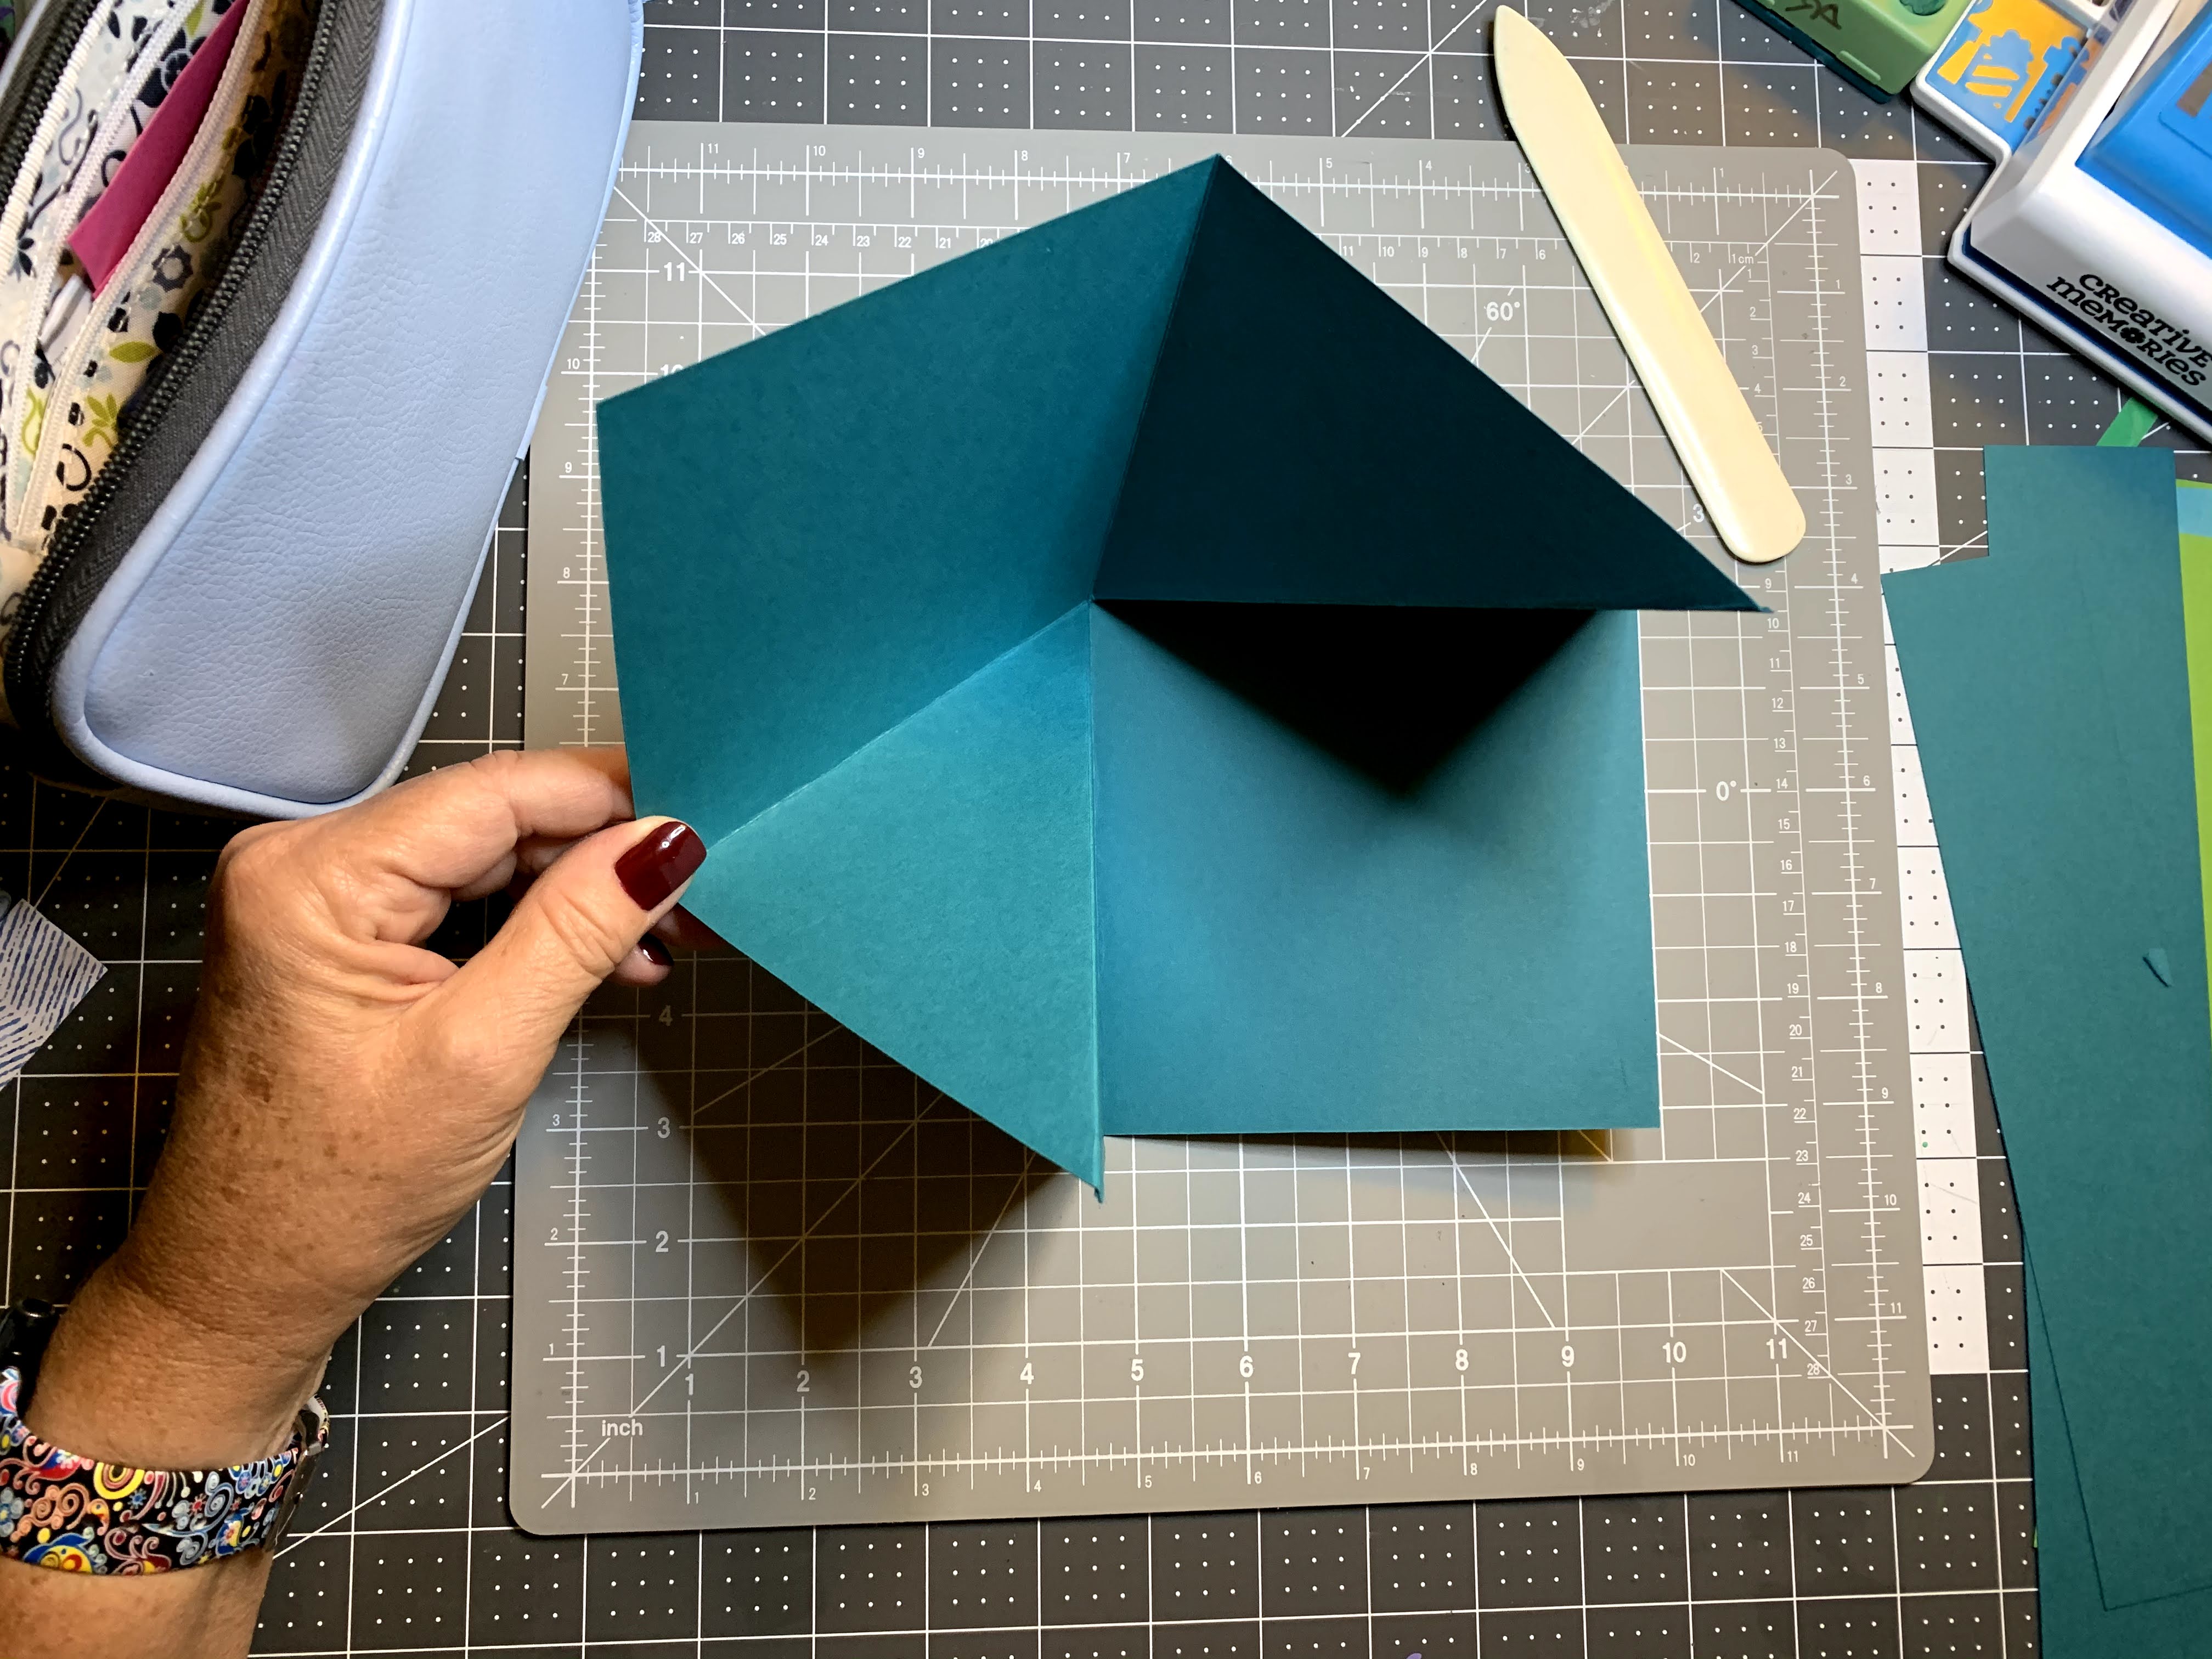
Folding the squares is basic. Each one is folded the same way
Fold in half, and then.....
Fold in half again the opposite way
Now fold ONE TIME
- point to point -
this fold helps create the ability for the card to fold into itself.
Here is a section with all the proper folds.
Your must be sure that all of your folds are as smooth
and crisp as possible. Use something to improve your crease
other than just your finger. Above is a "bone folder".
Now, each section must attache in only one spot.
You must use a heavy duty type of adhesive for a strong hold.
All products used in my craft projects are Creative Memories
Note: The only "other" product I use
(once sold by Creative Memories)
by Scrapbook Adhesives - Crafty Power Tape
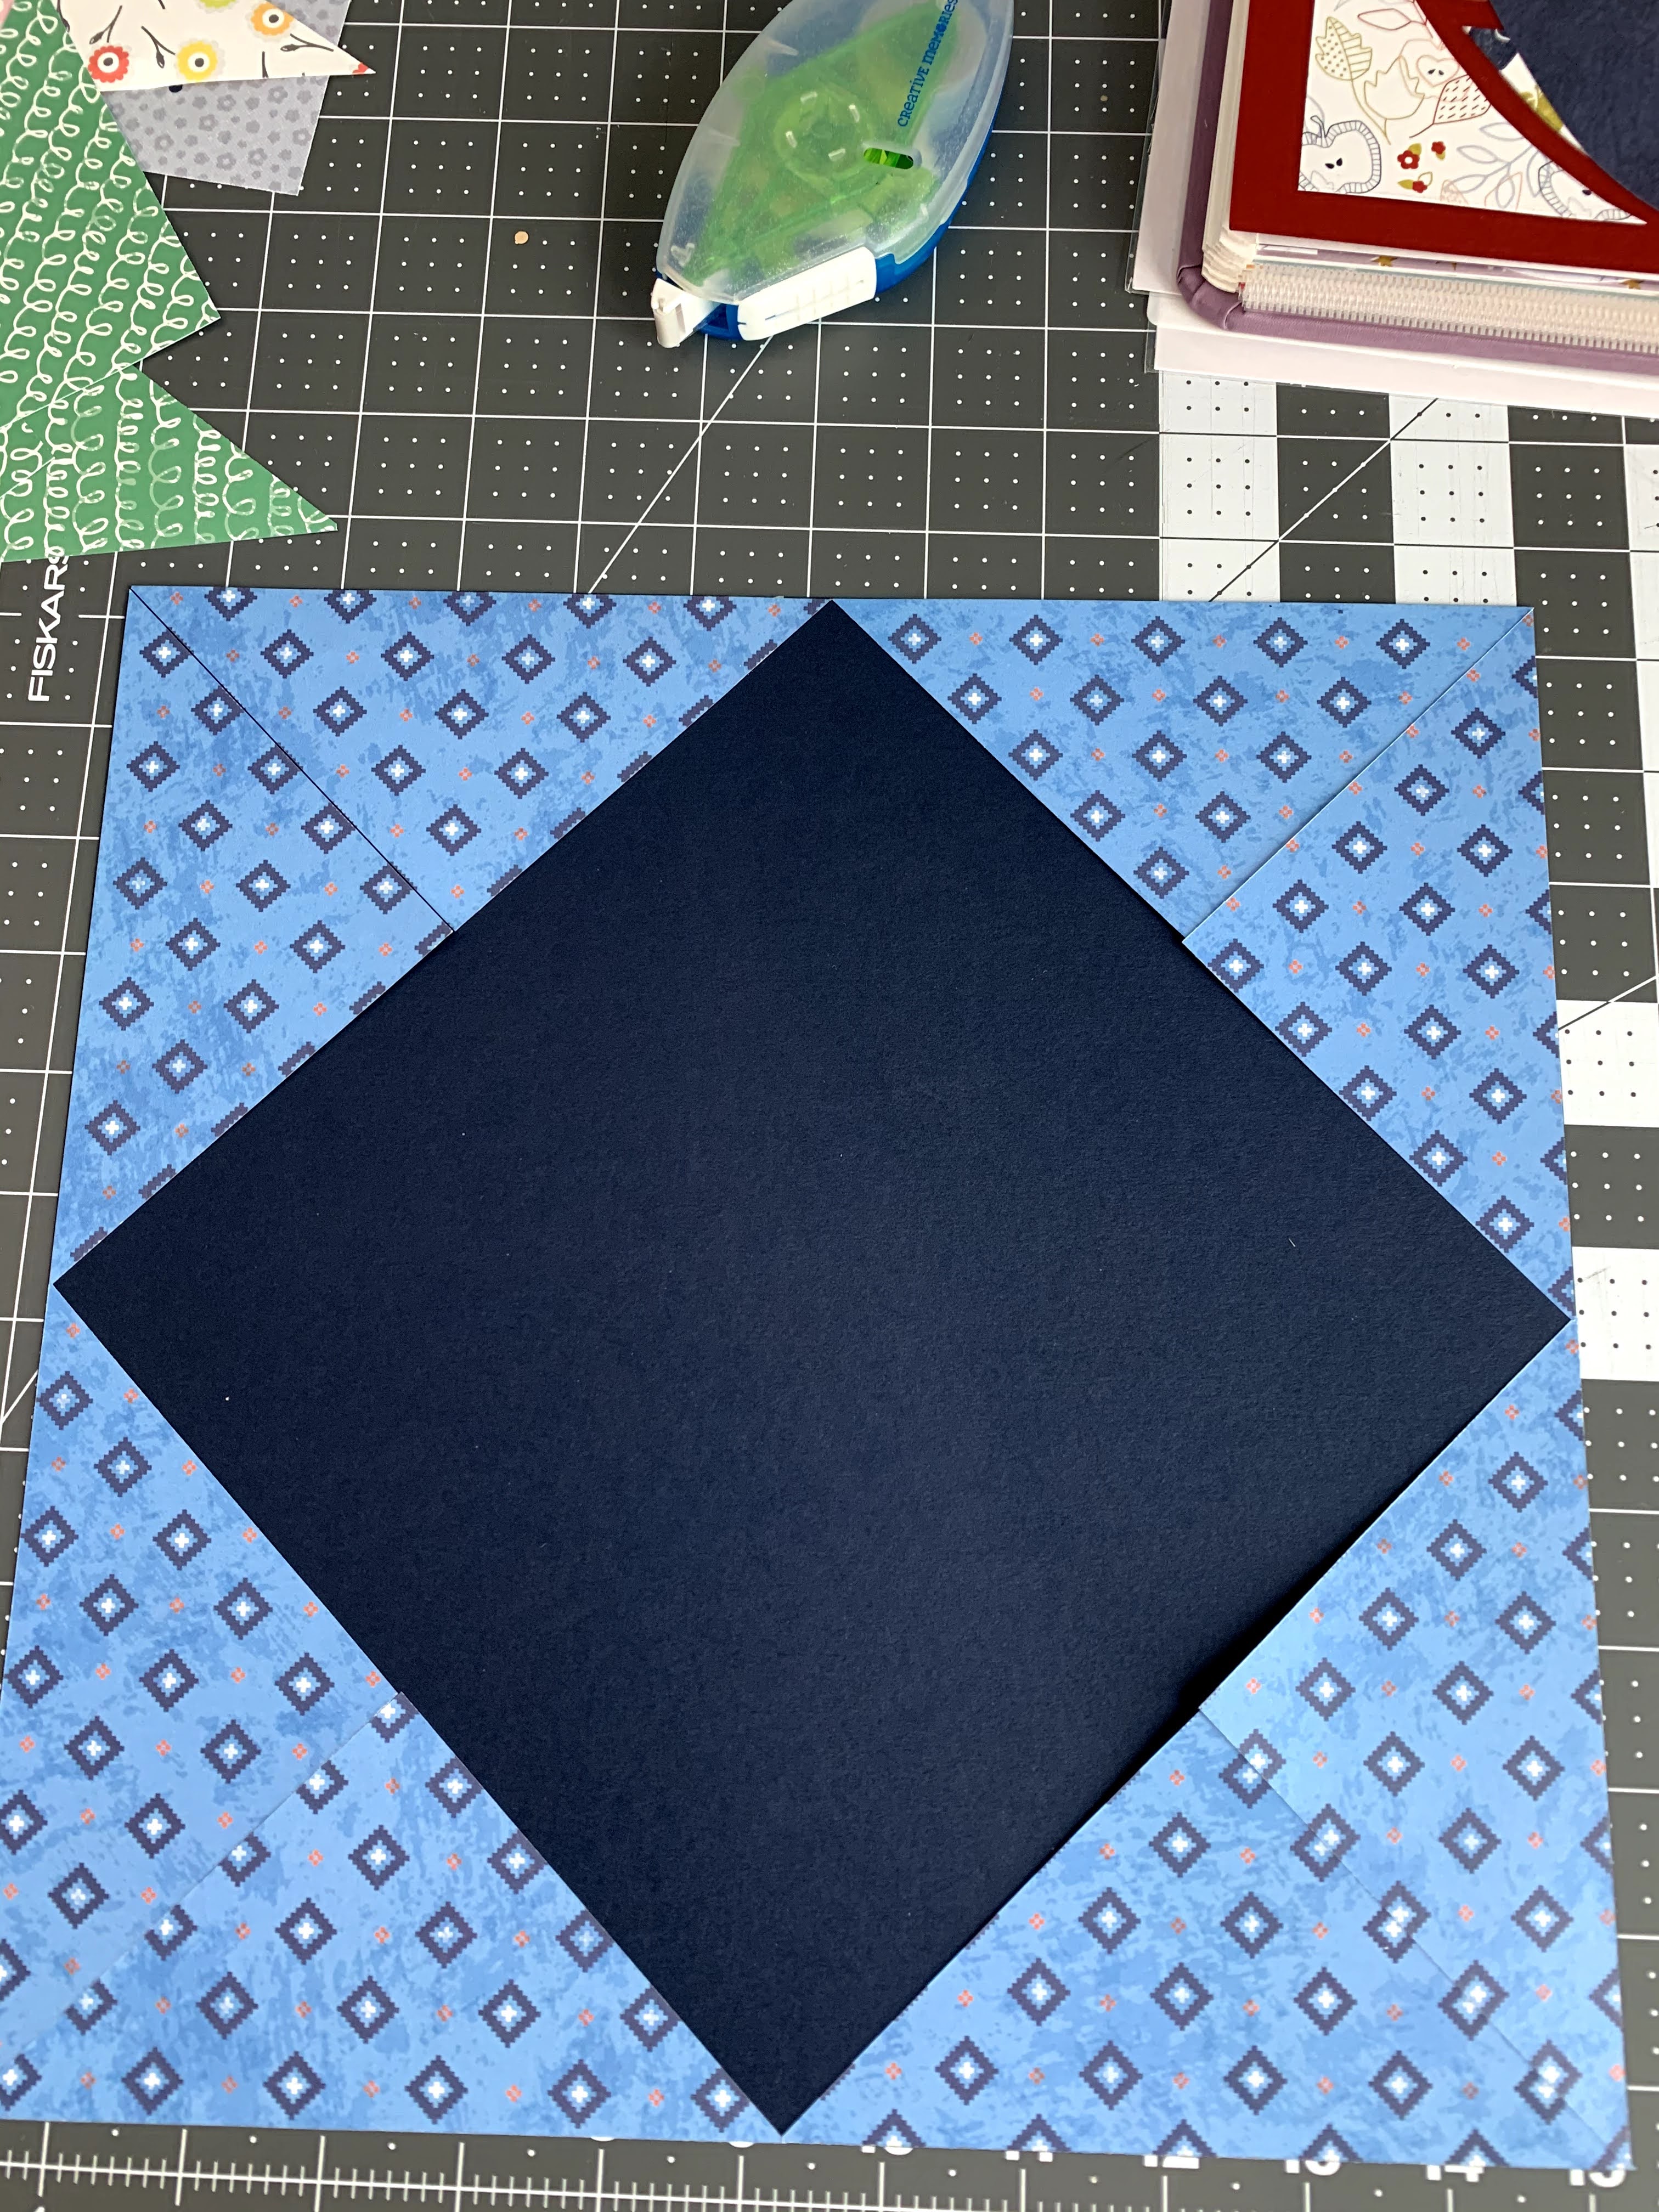
layer your 3 sections together, one on top of the next
and attach - just like this....1 - 2 - 3
After attaching your final section...
all pieces are attached to each other and it should look like this.
You must teach your project how to fold - this step is crucial to the design.
it's easiest to fold the first and last section
points inward to form a square
Center section folds the opposite direction of the two end pieces

Use a 12x12 piece of card stock to create a band
this can be any width you desire.
Above the piece is 12"x 2"
This is the band holding your project together
I hope you enjoyed creating this fun card
and I am sure the person you send it to
will be THRILLED!
Leave me a message with any questions!